When to actually stop and take your sewing machine to a repair shop
A clear, non-fear-based guide: exactly which repairs are safe to DIY and the precise line where a technician is the right call - including cost reality.
Most of the time, the answer is not a technician. It's the needle. Or the threading. Or lint packed around the feed dogs. The large majority of the complaints that send sewers to a repair shop can be solved at home in under 15 minutes - and that's exactly what this site is built for. But a small, specific category of problems genuinely belongs in a tech's hands, and pretending otherwise would be doing you a disservice. This page draws that line clearly.
Worth saying upfront: this is not a cop-out page. The point is to arm you with a real decision framework so you never spend $120 on a service call for a bent needle, and never burn three evenings on a stripped gear that a tech could fix in 45 minutes.
What you can almost always fix yourself
The following repairs are genuinely DIY territory for a careful home sewer. None of them require special tools beyond what came with the machine or costs a few dollars at a fabric store.
Threading and tension problems. Bird's nest tangles under the fabric, loops on the back of your work, uneven tension - these trace back to threading with the presser foot down (the tension discs never open, so thread skips the channel) about 90 percent of the time. Rethread from scratch with the foot raised. Pull both thread tails toward the back before you start sewing. That single habit eliminates most "tension" problems without ever touching the dial.
Needle issues. Skipped stitches, shredded thread, popped top thread, even some apparent "timing" symptoms - the culprit is a dull, bent, or wrong-type needle far more often than any mechanical fault. All standard home machines use the 130/705 H system (also written HAx1), with sizes in dual Euro/US notation: 80/12 for light fabrics, 90/14 for medium-weight, 100/16 for denim and canvas. Seat the needle fully - slide it up until it can go no further in the clamp, then tighten the set screw. Most machines want the flat side of the shank facing the back, but check your manual since a handful of older models differ. Replace the needle every 8 hours of sewing, at the start of each new project, or the moment a new symptom appears - iFixit's repair guidance on jammed machines cites this interval alongside four full bobbins as a practical benchmark.
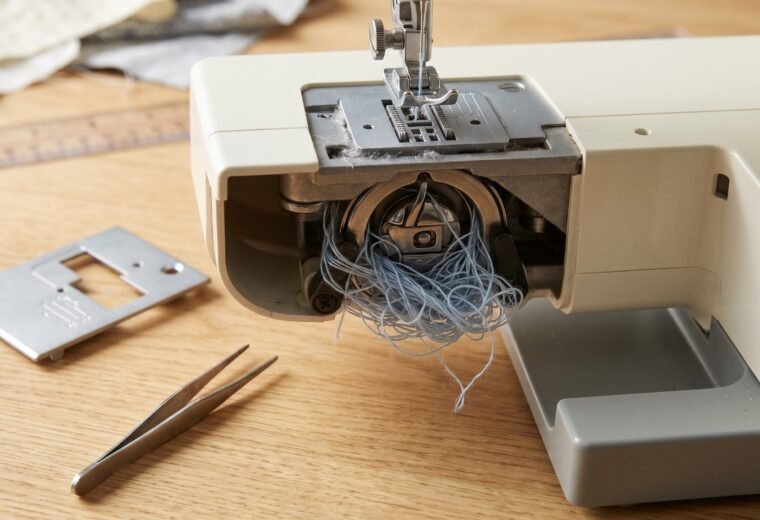
Cleaning and oiling. Lint in the bobbin area, around the feed dogs, and under the needle plate causes stitch problems, noise, and sluggish feeding. Remove the needle plate, brush out lint with a soft brush (never blow with compressed air - it drives debris deeper into the mechanism and can reach the motor), and apply one or two drops of sewing-machine oil to the points specified in your manual. Use only dedicated sewing-machine oil. WD-40, 3-in-1, cooking oil, and similar products leave gummy residue that does real damage over months.
Simple bobbin and feed problems. Before assuming a mechanical fault, confirm the feed dog lift lever is in the up position and the stitch length is not set to 0. A stitch length of 0 locks the feed dogs in place - fabric goes nowhere. Check that the presser foot is actually lowered before sewing. For drop-in bobbin machines, reseat the bobbin so the thread exits in the correct direction per the diagram in the bobbin compartment lid.
Mechanical timing on older mechanical-only machines. True timing adjustment (realigning the hook's pick-up point with the needle's position) is DIY-possible on most mechanical machines, though it requires patience and a willingness to work slowly. We cover the full procedure in our how-to-fix-timing guide, and the diagnostic for distinguishing a real timing problem from a needle problem is in is it timing or not. If you're not sure which you have, start there - roughly 40 percent of suspected timing issues turn out to be the needle or threading, not a timing fault at all.
The stop-line: when to call a technician
Each scenario below has a concrete reason why DIY repair either won't hold or creates a safety risk.
| Problem | Why it's technician territory | DIY danger if you push past this |
|---|---|---|
| Electrical fault - machine won't power on, sparks, burning smell, frayed cord | Internal wiring, switches, and motor connections are live-current components. Manufacturers handle electrical components under separate warranty terms precisely because repair requires rated equipment and trained technicians - not because the parts are hard to reach, but because the risk is real. | Shock risk, fire risk, voided warranty |
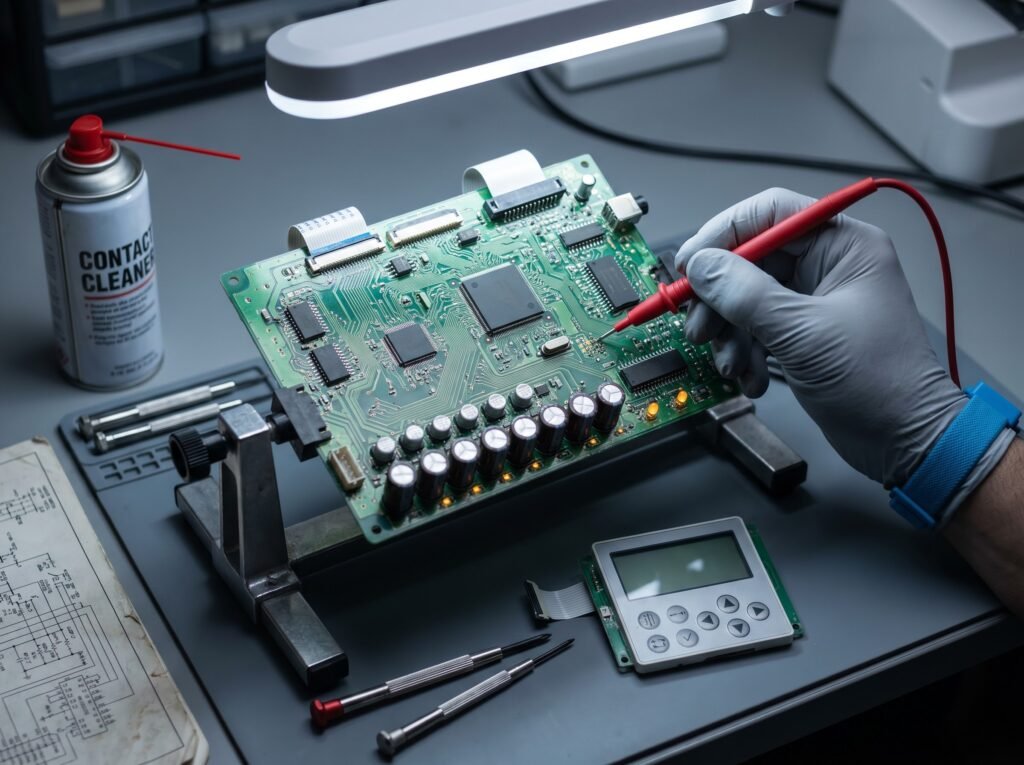
| Circuit board or control panel failure (computerized machines) | Board diagnosis requires test equipment. A wrong replacement or a solder bridge can brick the machine permanently. Janome warrants electronic components for 5 years specifically because board repair is specialized work. | Permanent machine failure, warranty void |
| Broken or stripped gear | Gear replacement requires disassembly to the drive train, precise re-timing, and often factory tolerances that can't be eyeballed. Forcing a stripped gear makes the damage worse - not incrementally, but in a way that can ruin the main shaft. | Cascade damage to adjacent parts |
| Bent or scored main shaft | The main shaft drives every moving part. A bent shaft cannot be straightened at home without a lathe. Every stitch the machine makes on a bent shaft will worsen the problem. | Progressive damage; machine becomes unrepairable |
| Computerized auto-timing calibration | Computerized machines (Brother CS6000i, Janome DC series, Bernina computerized models) store timing offsets in firmware. Mechanical adjustment alone won't correct a timing drift on these - the calibration routine requires dealer software. | Stitch quality never recovers; wastes your time |
| Machine under active warranty | Both Janome and Singer explicitly exclude "repairs done by unauthorized service providers or the purchaser" from warranty coverage. A DIY attempt on an in-warranty machine hands back a repair bill that should have been free. | Warranty void; you pay for a problem that was covered |
| You've tried the DIY fix twice and the problem returned | A recurring symptom after a correct repair attempt almost always means the root cause is something deeper - worn timing cam, failing motor capacitor, or a burr on the hook race. The tech will find it faster than continued trial and error. | Wasted time; problem worsens |
| You've lost confidence mid-repair | A repair started and abandoned in the wrong position can leave the machine worse than when you began. There is no shame in stopping. Bag the parts, note what you touched, and bring it to a shop. | Harder repair for the tech; higher bill |
One category deserves a specific call-out: the bobbin-case tension screw. Some machines ship with a small dab of yellow or red paint or lacquer marking the bobbin-case screw in its factory position - but many do not, especially entry-level Brother, Janome, and Singer models, so the absence of a paint dot on your machine does not mean the screw is safe to turn freely. When a seal is present, it is intentional: the bobbin tension is set at the factory with test equipment, and adjusting it without a gauge typically makes the problem worse and can create a different fault in your upper tension. Leave the bobbin-case screw alone unless a technician has set it for you, or unless you're working from a specific service manual for your exact model and have a spring-tension gauge on hand.
What a technician can do that you genuinely can't
The gap isn't mystical - it's equipment and access.
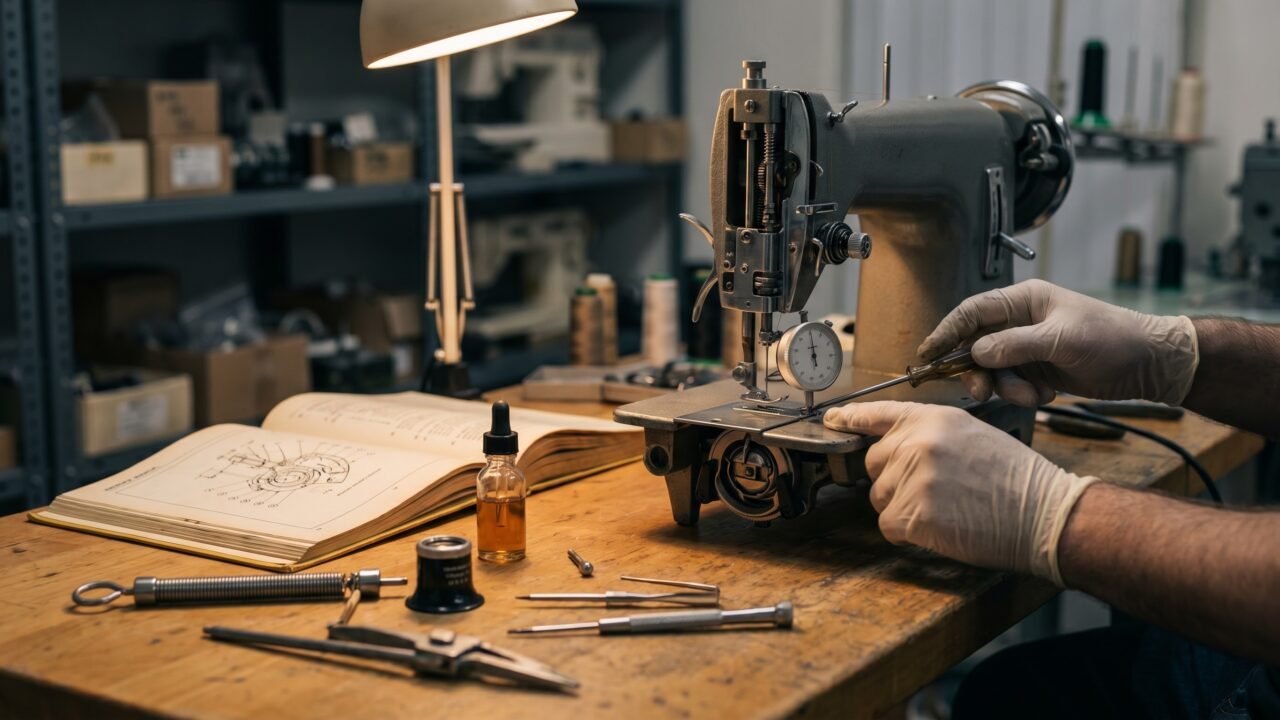
A sewing machine technician works with a service manual for your exact model. Those manuals include timing specifications measured in degrees of shaft rotation, tension spring force in grams, and hook-clearance tolerances in fractions of a millimeter. They're the same documents used at the factory, and most aren't publicly available for current models. The technician also has a dial gauge for checking shaft runout, a tension meter for calibrating the bobbin-case spring, and the experience to distinguish a normal noise from a sign of impending gear failure. On computerized machines, authorized dealers carry the calibration software that resets firmware timing after mechanical adjustment.
For a full picture of the timing repair itself - what it involves, where a mechanical machine's DIY window sits, and the exact point where the procedure becomes a dealer job - our timing overview and the step-by-step timing repair guide cover those lines in detail.
The repair-cost reality and when replacing makes more sense
A standard cleaning, oiling, and adjustment service typically runs $80 to $150 at US shops, with mechanical machines on the lower end and computerized models closer to the top (Airtasker's national cost data). That's for a healthy machine that just needs a tune-up; specialty shops in high-cost cities can charge more. A timing repair adds $75 to $150 on top depending on what's involved. A circuit board replacement on a mid-range computerized machine can easily reach $200 to $300 once the part is factored in.
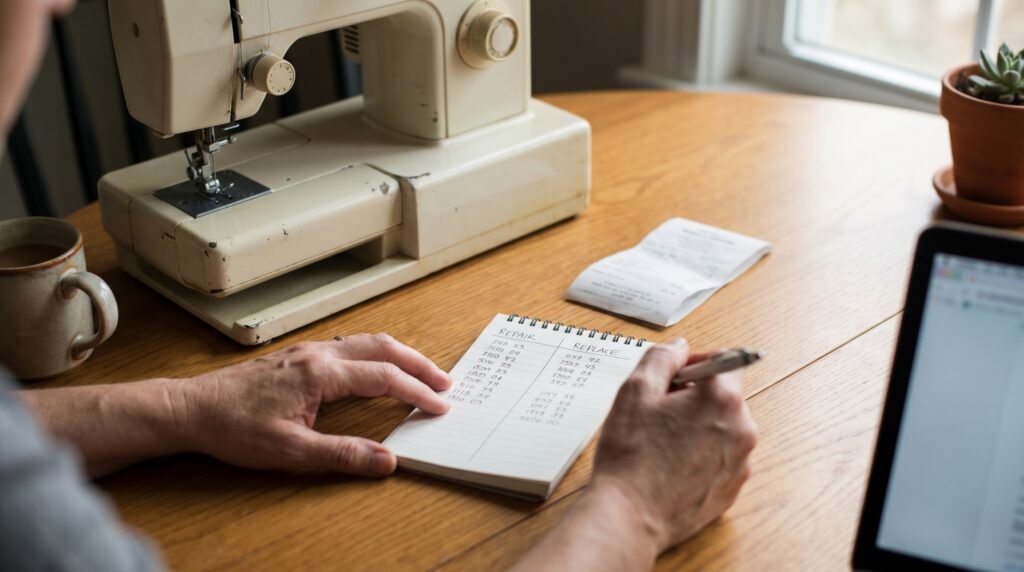
The math works like this: if the total repair cost approaches or exceeds 50 to 60 percent of what a comparable replacement machine costs new, replacement is usually the better call. A $75 tune-up on a $400 machine is an easy yes. A $250 board repair on a $200 entry-level machine is a clear no. Our repair-vs-replace guide has a calculator that runs those numbers for your specific situation, and the worth-repairing explainer covers the variables that shift the math (machine age, parts availability, sentimental value, upgrade opportunity).
One extra factor: if your machine is within its warranty period, the cost calculus changes completely. Singer's warranty covers the machine head for 25 years, but the electronic component term varies by model - 2 to 5 years depending on your model tier (check Singer's warranty coverage page for your specific machine). Janome's covers mechanical parts for 25 years and electronic components for 5 years. A board failure within those windows costs you nothing at an authorized dealer. Getting there without having voided the warranty first is the only condition.
Before you go: a quick self-check
Run through this in order. Roughly half the readers who arrive at this page will resolve the problem before reaching the end of the list.
- Change the needle (130/705 H, correct size for your fabric, seated fully in the clamp with no gap above the shank - flat side toward the back on most machines, confirm in your manual).
- Rethread the entire machine with the presser foot raised, from the spool through every guide and the needle eye. Hold both tails to the back when you start.
- Clean the bobbin area - remove the needle plate, brush out lint, reseat the bobbin in the correct orientation.
- Check stitch length is not at 0 and the feed dog lever is up.
- If the symptom persists after all four steps, refer to the specific symptom guide for your problem: skipped stitches, thread bunching, machine jamming, or handwheel stuck.
- If those guides point toward timing, run the timing diagnostic before attempting any adjustment.
- If the symptom matches anything in the stop-line table above, stop and book a technician.
Knowing where your stop-line sits is not a sign of limited skill. It's the mark of someone who takes the machine seriously enough to protect it.
Questions answered
Will a DIY repair void my sewing machine warranty?
It can. Janome's warranty explicitly excludes "repairs done by unauthorized dealers, service providers, or the purchaser." Singer covers electronic components for 2 to 5 years from purchase depending on your model tier - check Singer's warranty coverage page for your specific machine. If your machine is within its warranty window, contact the manufacturer or an authorized dealer before opening it up - repairs that should be free can become paid if the warranty exclusion applies.
How much does a sewing machine service typically cost?
A standard clean, oil, and adjustment typically runs $50 to $100 at most US shops. Mechanical machines tend to center around $75; computerized machines around $100. Specialty shops in expensive markets can charge more. A timing repair or part replacement adds to that figure. If the total repair cost approaches half the price of a comparable new machine, our repair-vs-replace guide is worth checking before you commit.
What is the yellow paint seal on the bobbin case screw?
On machines that have it, it's a factory calibration mark. The bobbin tension is set at the factory using spring-tension gauges, and the paint or lacquer dot marks that factory position. Many machines - especially entry-level Brother, Janome, and Singer models - ship without any paint mark at all, so not finding one on your machine is normal. Whether or not the mark is present, adjusting that screw without the right equipment almost always introduces a new tension fault rather than fixing the existing one. Unless you have a service manual and a tension gauge for your specific model, leave it alone.
Can I fix computerized sewing machine timing myself?
Generally not. Computerized machines store timing offset values in firmware. A mechanical adjustment may correct the physical position of the hook, but the control board still operates on the old calibration values, so stitch quality may not recover. Authorized dealers carry the calibration software needed to re-sync the board after a mechanical adjustment. This is one of the clearer cases where a dealer visit is the right path.
- iFixitSewing Machine Repair Hub
- iFixitWhat To Do When Your Sewing Machine Gets Jammed
- Janome America, Inc.Warranty Information
- SingerWarranty Coverage
- Airtasker USSewing Machine Repair Cost Guide
The Stitchmend team
Every fix here is built from manufacturer service manuals and needle-maker specs, and fact-checked against those sources before it goes live. How we work